Teams
You can create and join teams in Stately Studio to share and collaborate on team projects.


Team roles
Team members can have one of the following roles: Owner, Admin, Editor, or Viewer. Team owners or admins assign the role to the new team member when inviting them to join the team.
The following table is an overview of the capabilities of each team role:
| Capability | Owner | Admin | Editor | Viewer |
|---|---|---|---|---|
| View team projects and machines | ✅ Yes | ✅ Yes | ✅ Yes | ✅ Yes |
| View other team members | ✅ Yes | ✅ Yes | ✅ Yes | ✅ Yes |
| Export team machines | ✅ Yes | ✅ Yes | ✅ Yes | ✅ Yes |
| Fork team projects and machines | ✅ Yes | ✅ Yes | ✅ Yes | 🚫 No |
| Edit existing team projects | ✅ Yes | ✅ Yes | ✅ Yes | 🚫 No |
| Create team projects | ✅ Yes | ✅ Yes | ✅ Yes | 🚫 No |
| Lock team machines | ✅ Yes | ✅ Yes | ✅ Yes | 🚫 No |
| Reassign Admin, Editor, and Viewer roles | ✅ Yes | ✅ Yes | 🚫 No | 🚫 No |
| Invite new team members | ✅ Yes | ✅ Yes | 🚫 No | 🚫 No |
| Change project visibility | ✅ Yes | ✅ Yes | 🚫 No | 🚫 No |
| Edit the team name | ✅ Yes | ✅ Yes | 🚫 No | 🚫 No |
| Delete the team | ✅ Yes | 🚫 No | 🚫 No | 🚫 No |
Owner role
Team subscribers can create teams and they become their teams' owner by default. The team owner can:
- Manage their account billing, including changes to the number of paid seats for their teams.
- Create new teams and delete teams
- Edit the team name
- Change project visibility
- Invite new team members
- View team members
- Give team members Admin, Editor, and Viewer roles
- Create team projects
- Lock team machines
- Edit, fork, export, and view team projects and machines
Teams members and the available plan seats
Creating a team requires the Team plan of Stately Studio, with includes up to 10 seats. That means one seat for the Team subscription owner plus 9 additional seats (Viewers are free). These seats can be allocated to one or more teams, in any configuration desired.
Admin role
Users with the Admin role can:
- Edit the team name
- Change project visibility
- Invite new team members
- View team members
- Give team members Editor and Viewer roles
- Create team projects
- Lock team machines
- Edit, fork, export, and view team projects and machines
Editor role
Users with the Editor role can:
- View team members
- Create team projects
- Lock team machines
- Edit, fork, export, and view team projects and machines
Viewer role
Users with the Viewer role can:
- View team members
- View team projects and machines
- Export team machines
Create a team
- Use the Create team link in the left sidebar of Stately Studio’s workspace to open the Create team form.
- Name your team and use the Create team button to create your team.
By default, teams have only one member, the creator and Owner. Invite new members to add more members to your team.
Edit the team name
- Select the team from the left sidebar of Stately Studio’s workspace.
- Navigate to the Settings tab.
- Edit the team name and use the Save changes button to update your team name.
Invite new members to a team
You need to have enough seats on your Pro plan to add more members to your team.
- Navigate to the team page from the left sidebar of Stately Studio’s workspace.
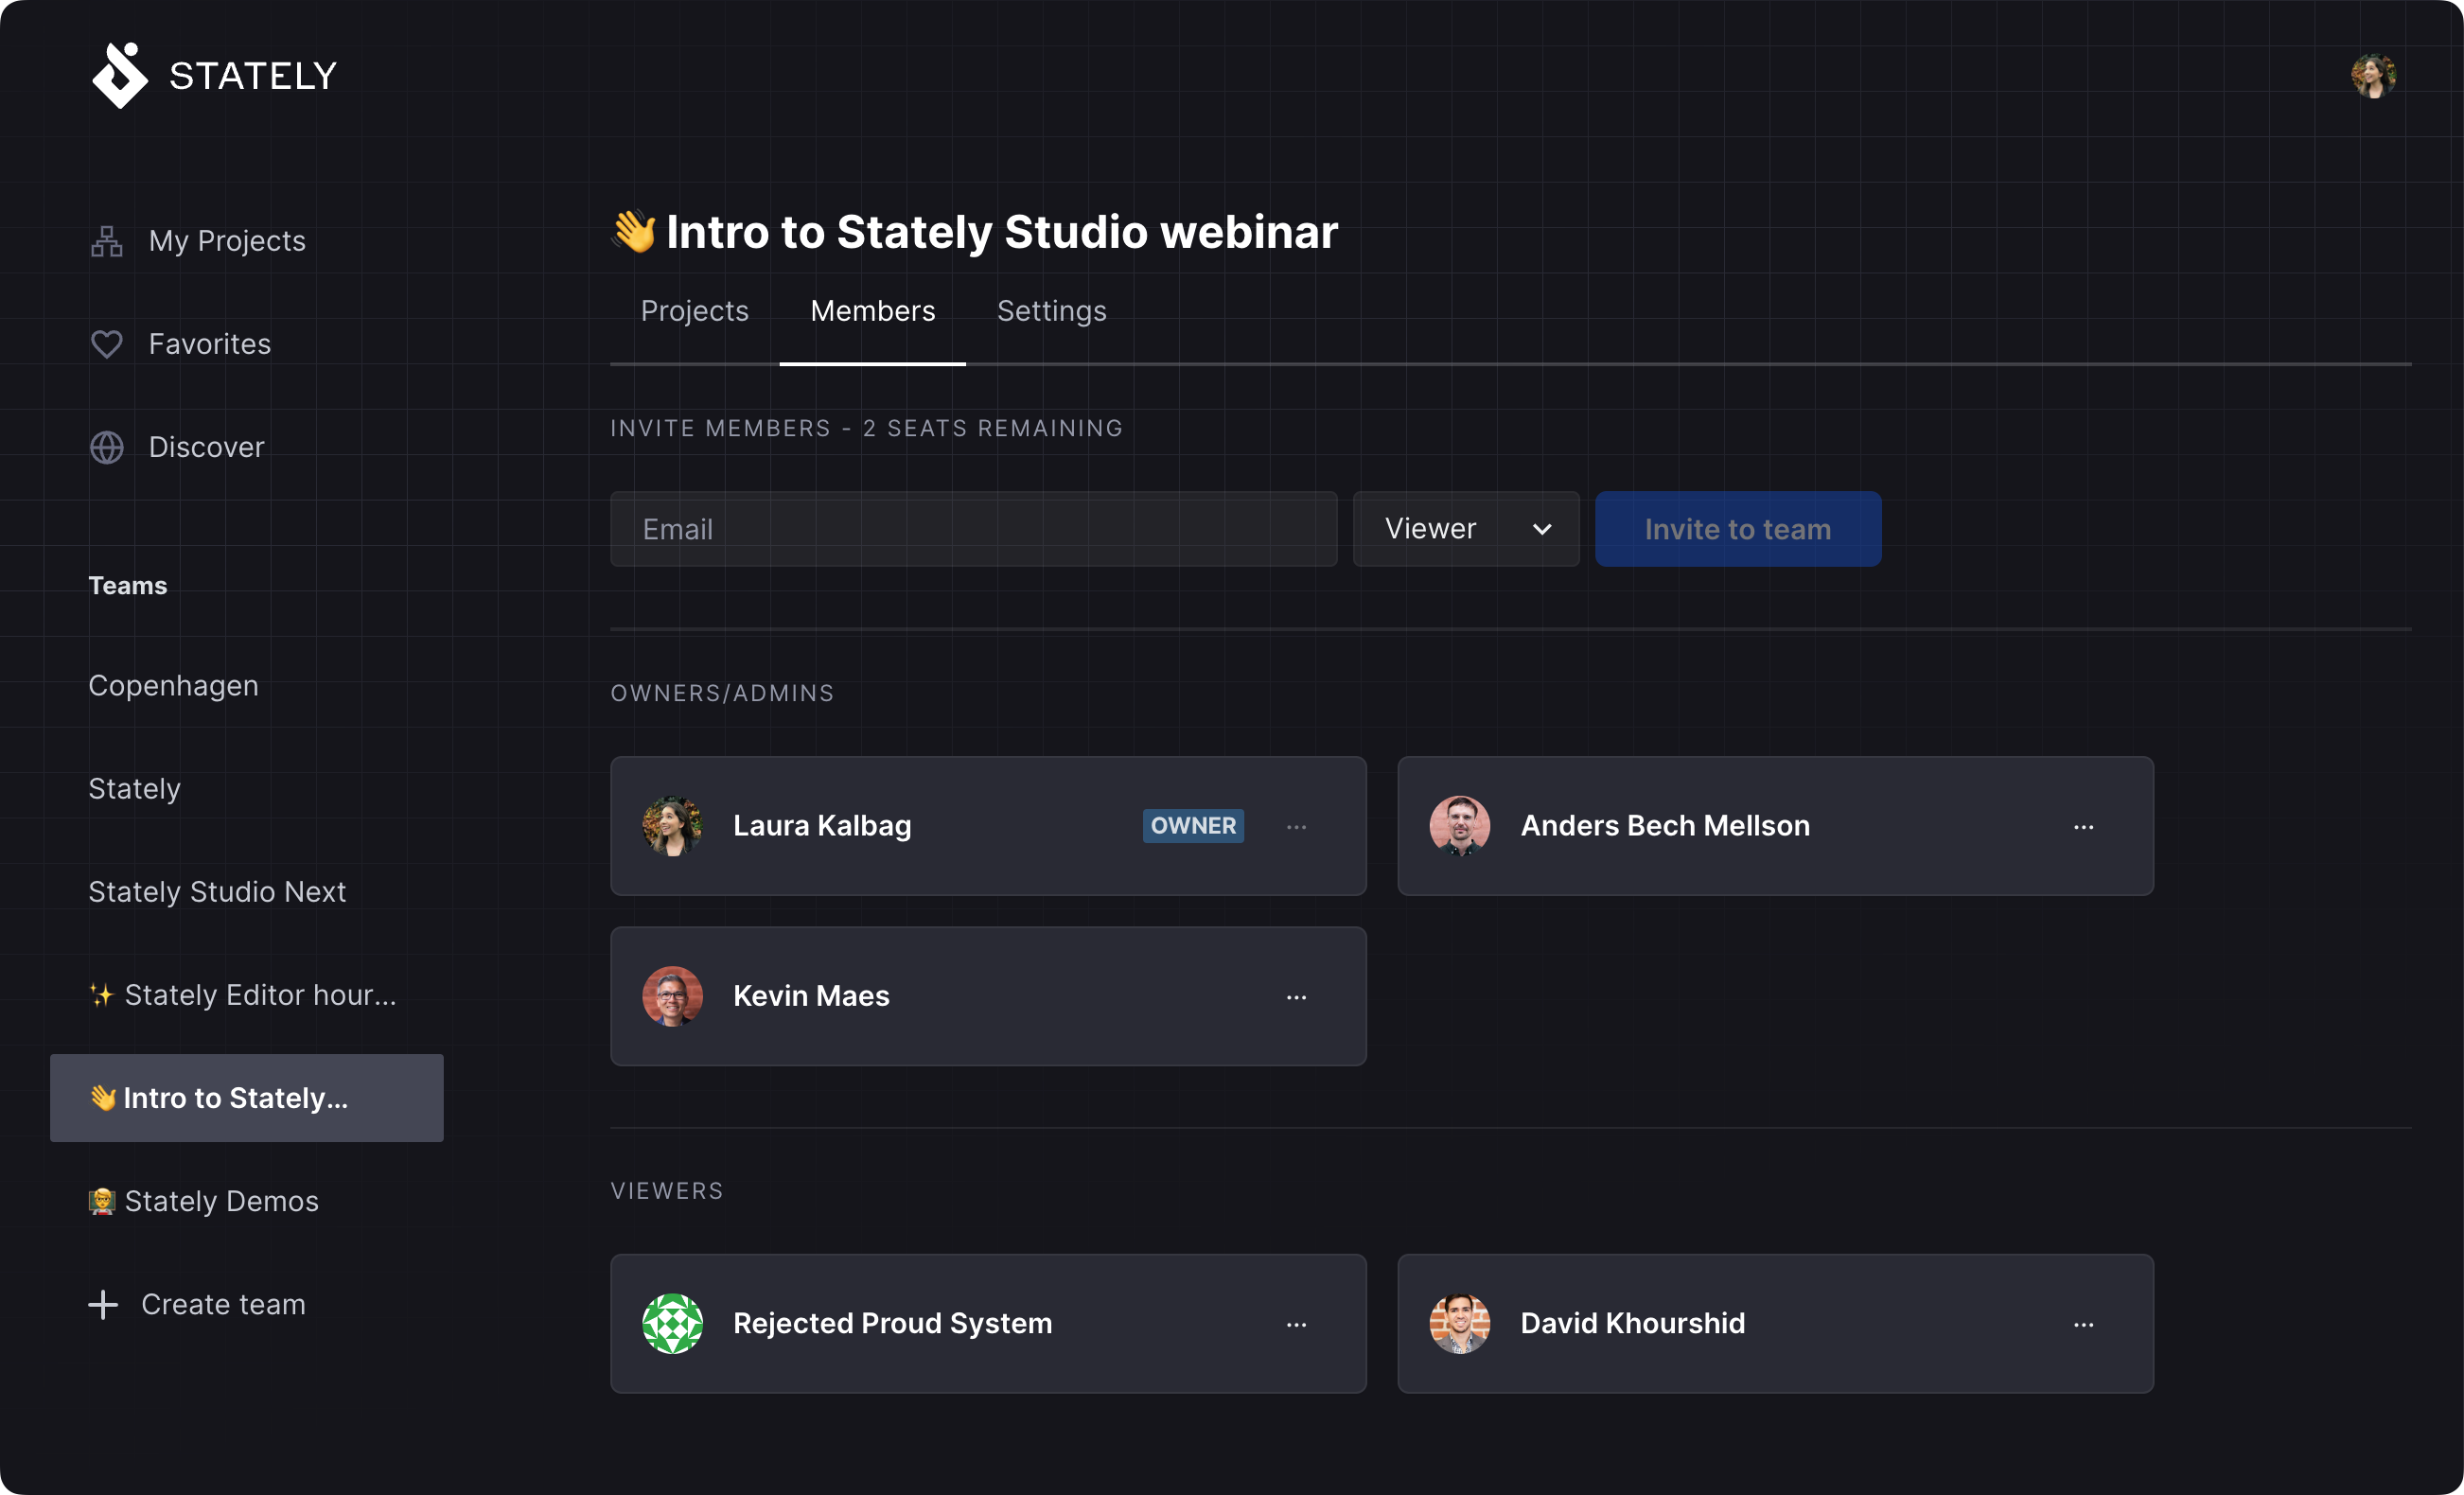
- On your team page, use the Members tab to view existing members and their roles and invite new members.
- Enter the invitee’s email address and choose their role from the dropdown menu.
- Use the Invite to team button to send the invitation.


The invitation will be sent to the invitee’s email address. The invitee will appear as a team member in the Pending section of the Members page until they accept the invitation. Once the invitation is accepted, the team member will be listed on the Members page, organized by role.
Change a team member’s role
To change a team member’s role, you must have the Owner role or Admin role for that team.
- Navigate to the team page from the left sidebar of Stately Studio’s workspace.
- Navigate to the Members tab on the team page.
- Use the triple dot contextual menu alongside the team member’s name in the Members list to choose from the options Make a Viewer, Make an Editor, or Make an Admin.


Remove a member from a team
To remove a member from a team, you must have the owner role or Admin role for that team.
- Navigate to the team page from the left sidebar of Stately Studio’s workspace.
- Navigate to the Members tab on the team page.
- Use the triple dot contextual menu alongside the team member’s name in the Members list to choose the Remove from team option.
Leave a team
Any team member with Admin, Editor, or Viewer roles can leave a team.
- Navigate to the team page from the left sidebar of Stately Studio’s workspace.
- Navigate to the Members tab on the team page.
- Use the triple dot contextual menu alongside the team member’s name in the Members list to choose the Leave team option.
Team owners cannot leave their own teams, but they can delete the team.
Delete a team
Only team owners can delete a team.
- Navigate to the team page from the left sidebar of Stately Studio’s workspace.
- Navigate to the Settings tab on the team page.
- Use the Delete team button to delete your team.
- Confirm the team deletion using the Delete button in the Delete team dialog.
Create shared team projects
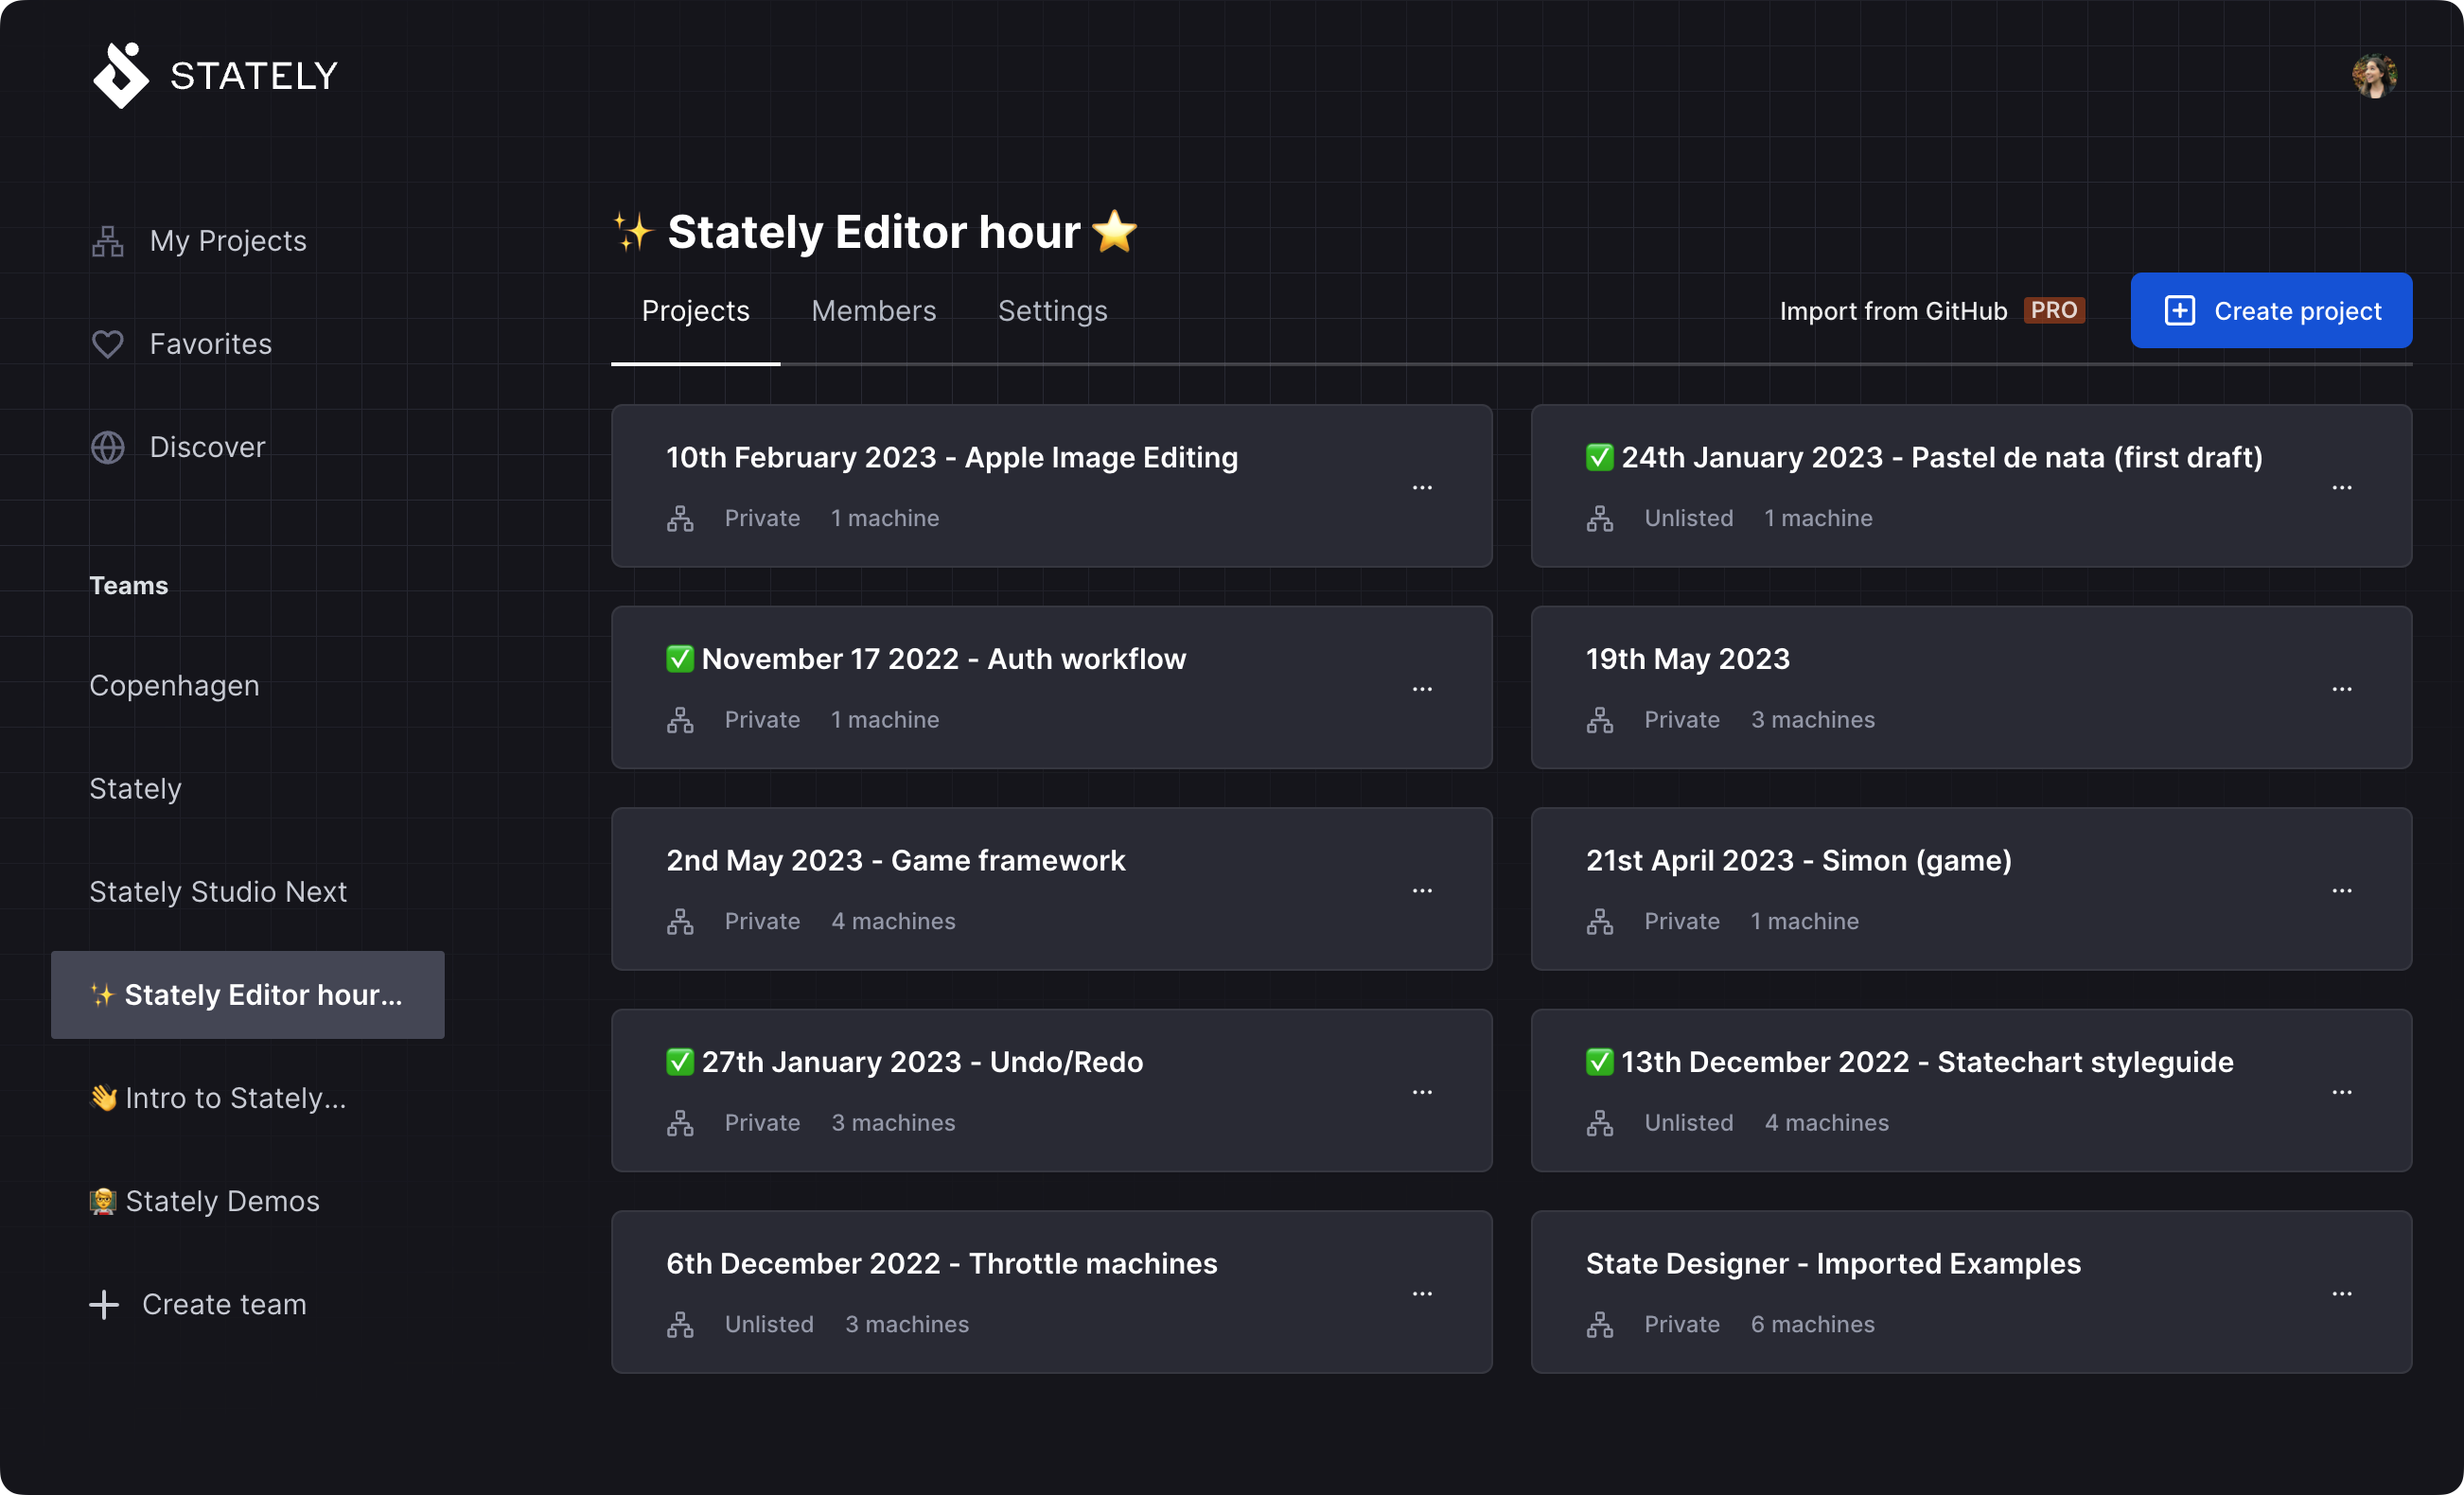
Shared projects can be created and worked on between team members of any given team. Team projects are listed inside their Team in the Stately Studio workspace. Projects are Private by default, but can be made Public or Unlisted.


Create a shared team project
Only team members with the Owner, Admin, or Editor roles can create team projects.
- Navigate to the team page from the left sidebar of Stately Studio’s workspace.
- Navigate to the Projects tab on the team page.
- Use the Create project button.
- Name the project. The description and keyword fields are optional.
- Specify the Project Visibility as Public, Private, or Unlisted in the dropdown.
- Use the Submit button to create the new project.
Move a project between teams
You can move projects between your teams if you have an Owner role on both teams.
- Use the Share button in Stately Studio’s top bar to open the Share dialog.
- Choose the destination team from the dropdown menu in the Move project section.
- Confirm that you want to move the project from the project move warning dialog using the Move to project name button.

