Viam x Stately - Smart Machines Meet State Machines
Controlling hardware in the real world requires confidence and safety, even when it's part of a game!
The term "robots" invokes a fascinating range of ideas, from manually controlled machines to automated software that crawls the web. One of the prime examples in this area is robotic arms, traditionally used to aid and extend the reach of humans in manufacturing, surgery, and space exploration. Each of these use cases require some way of programming and controlling the arm to perform their dedicated task, usually with proprietary software developed by the manufacturer. The UI is tightly coupled to the hardware through a touchscreen device or desktop application physically connected to the arm, which makes it tough to put online securely and using modern technology.
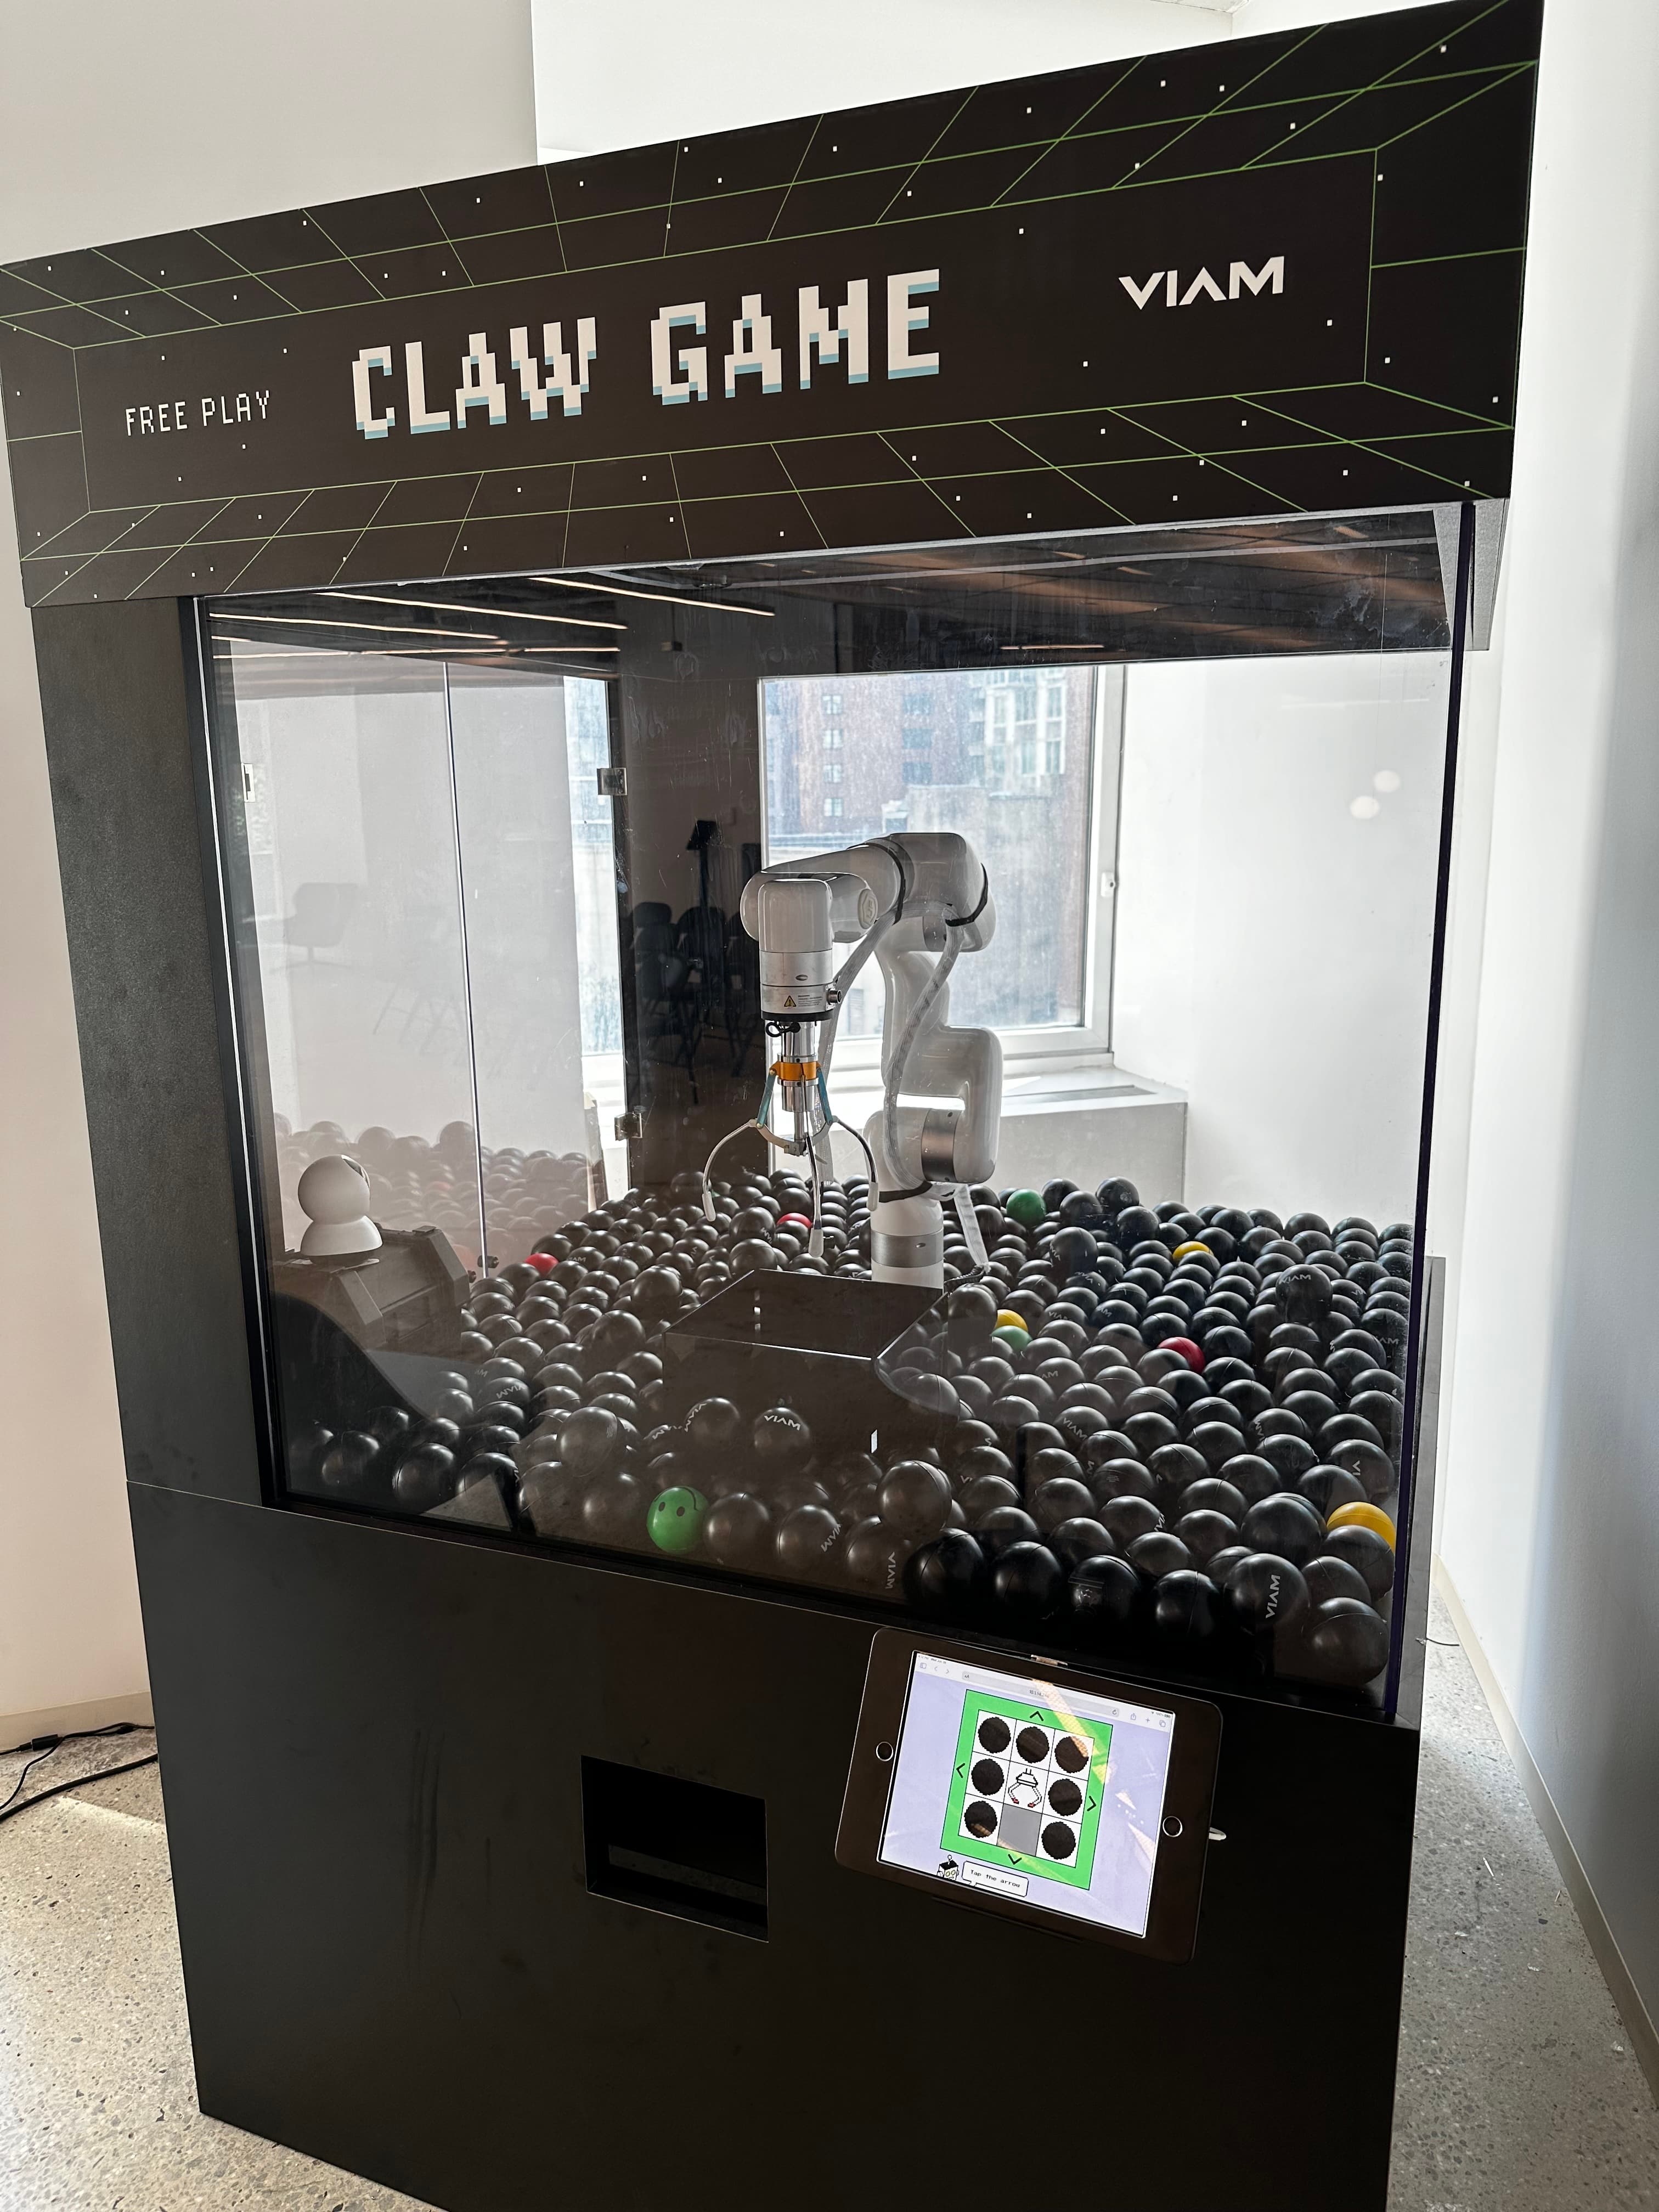
Viam provides an open source software stack and set of cloud services that makes managing all types of robots (and other smart machines) accessible to developers without any prior hardware experience. To help demonstrate the types of experience that can be built with Viam, the developer advocacy team built an arcade claw game that used an industrial robot arm and arcade claw that could be operated using a single-page web application powered by TypeScript SDK.
Even for a relatively-constrained experience, managing the various possible actions and states to operate the arm made maintaining the code for the web application quite tough for anyone who wanted to update some feature. It was important to handle any errors related to potential collisions of the arm against any obstacles as it moved, as well as prevent commands from being sent to the arms while it was actively moving or grabbing. Also, as an open source example, we wanted the code to be understood by developers who were learning about Viam without getting lost in the UI-specific logic.
Given this mandate and my past experience using XState, I reached for Stately Studio and XState to make the claw game web app into a more production-ready system!
Understanding the problem

As stated previously, the web application is quite literally a single page experience. It is a set of static assets (index.html, styles.css, main.ts) that are compiled and served by a static file server running on an embedded Linux device (the NVIDIA Jetson Orin Nano in this case) where the viam-server Robot Development Kit is also running. This is purely for convenience rather than necessity since the Viam TypeScript SDK connects to viam-server using WebRTC, so the app could run on any device in the world with an Internet connection.
Because the UI itself is fairly simple, there's no client-side framework being used; just DOM APIs and the Viam SDK. Let's take a look at the main function in the main.ts file for the project, which pulls together most of the logic for interacting with the UI and robot; we can start to identify opportunities for finite states and actions:
async function main() {
  // Connect to client
  let client: Client;
  try {
    client = await connect();
    console.log('connected!');
  } catch (error) {
    console.log(error);
    return;
  }
  const motionClient = new MotionClient(client, motionClientName);
  const boardClient = new BoardClient(client, boardClientName);
  const armClient = new ArmClient(client, armClientName);
  const gripperClient = new GripperClient(client, gripperClientName);
  /// more below
Right off the bat, there's some setup logic to connect to the robot that could potentially fail if the machine is offline but not much in the way of error handling. I can identify at least four states from this snippet alone: initializing, connectingToMachine, clientErrored, and connected. Once the main client has connected to the robot, we create an instance of each component client that we want to control.
let isMoving = false;

function styleMove(state) {
  let element = document.getElementById('grid-container');
  if (state === 'move') {
    element.classList.remove('grid-container-error', 'grid-container-ready');
    element.classList.add('grid-container-moving');
  } else if (state === 'ready') {
    element.classList.remove('grid-container-error', 'grid-container-moving');
    element.classList.add('grid-container-ready');
  } else if (state === 'error') {
    element.classList.remove('grid-container-moving', 'grid-container-ready');
    element.classList.add('grid-container-error');
  }
}
Now we can see an interesting mix of boolean variables (isMoving) and explicit states being passed to a function to style the grid of quadrants to which the robot arm can move. This helps inform some additional states to model: ready (this could be separate from the connected state) and moving. Updating the styles based on the current state of the machine could happen as a side-effect within the machine config or by subscribing to the machine state; we can explore that when modeling in Stately Studio.
// Helper functions to define button behavior
async function mouseDown(func: () => Promise<boolean>) {
  if (isMoving) return;
  styleMove('move');
  isMoving = true;
  let success = await func();
  if (success) {
    styleMove('ready');
    isMoving = false;
  }
}

function setButtonBehavior(
  button: HTMLTableCellElement,
  func: () => Promise<boolean>,
) {
  button.addEventListener('mousedown', () => {
    mouseDown(func);
  });
}

async function planarMoveHandler(
  button: HTMLTableCellElement,
  x: number,
  y: number,
) {
  try {
    await inPlaneMove(motionClient, armClient, x, y);
  } catch (error) {
    console.log(error);
    styleMove('error');
    setTimeout(() => {
      styleMove('ready');
      isMoving = false;
    }, moveTimeout);
    return false;
  }
  return true;
}

setButtonBehavior(forwardbutton, () =>
  planarMoveHandler(forwardbutton, -moveDistance, 0),
);
setButtonBehavior(backbutton, () =>
  planarMoveHandler(backbutton, moveDistance, 0),
);
setButtonBehavior(rightbutton, () =>
  planarMoveHandler(rightbutton, 0, moveDistance),
);
setButtonBehavior(leftbutton, () =>
  planarMoveHandler(leftbutton, 0, -moveDistance),
);
Now we're getting into the real action. The mouseDown helper function is doing a few things to orchestrate the UI while sending commands to the arm: guarding when the arm is moving, updating the styles and global variable before calling the wrapped async command, checking the result of the command before updating the styles and global variable again if it was successful. There's no error handling within the mouseDown handler, instead it has been included in the planarMoveHandler which also calls the styleMove helper along with a timer to reset the UI to the ready state again (the inPlaneMove function being called moves the arm a short distance in its existing position, rather than to a new quadrant as we'll see later). Keeping the general error handling in the mouseDown would help organize that logic together, but that doesn't necessarily mean it would be easy to follow the individual states that become active during this interaction.
// Define buttons for movement between quadrants
async function moveHandler(func: Promise<void>) {
  try {
    await func;
  } catch (error) {
    console.log(error);
    styleMove('error');
    setTimeout(() => {
      styleMove('ready');
      isMoving = false;
    }, moveTimeout);
    return false;
  }
  return true;
}

setButtonBehavior(gridBackLeft, () =>
  moveHandler(moveToQuadrant(motionClient, armClient, -1, -1)),
);
setButtonBehavior(gridBack, () =>
  moveHandler(moveToQuadrant(motionClient, armClient, -1, 0)),
);
setButtonBehavior(gridBackRight, () =>
  moveHandler(moveToQuadrant(motionClient, armClient, -1, 1)),
);
setButtonBehavior(gridLeft, () =>
  moveHandler(moveToQuadrant(motionClient, armClient, 0, -1)),
);
setButtonBehavior(gridHome, () => moveHandler(home(motionClient, armClient)));
setButtonBehavior(gridRight, () =>
  moveHandler(moveToQuadrant(motionClient, armClient, 0, 1)),
);
setButtonBehavior(gridFrontLeft, () =>
  moveHandler(moveToQuadrant(motionClient, armClient, 1, -1)),
);
setButtonBehavior(gridFrontRight, () =>
  moveHandler(moveToQuadrant(motionClient, armClient, 1, 1)),
);
This is familiar to the inPlanarMove set up we just explored, so there's already some potential for combining those efforts into a single moveHandler with the same caveats of mixing side-effects with state changes. This current moveHandler most likely doesn't include the moving style updates and global variable change because the moveToQuadrant includes a guard using the armClient.isMoving() method instead, but that's tough to know without exploring the implementation of that function.
// Define button to grab and return object
async function dropHandler() {
  try {
    await zMove(motionClient, armClient, 240);
    await grab(boardClient, gripperClient);
    await delay(1000);
    await zMove(motionClient, armClient, moveHeight);
    await home(motionClient, armClient);
    await delay(1000);
    await release(boardClient, gripperClient);
  } catch (error) {
    console.log(error);
    styleMove('error');
    setTimeout(() => {
      styleMove('ready');
      isMoving = false;
    }, 2000);
    return false;
  }
  return true;
}

setButtonBehavior(dropbutton, () => dropHandler());
In the final snippet we can see the third iteration of the common move handler orchestration with even more commands and asynchronous behavior. The dropHandler takes care of grabbing a ball from the bottom of the game and moving it over to the drop chute to release it (if it was able to grab one). This is a pretty distinct action from the other move handlers, even with the overlap in error handling logic.
With our initial analysis of the game code done, let's try modeling it all in Stately Studio!
Modeling in Stately Studio
The completed state machine:
While we dig into the Stately model, I'll include "enhanced" views using MermaidJS diagrams to focus on certain parts.

As mentioned when first exploring the main TypeScript logic, we have a fairly classic initializing starting state that transitions into the connectingToMachine state upon the connect action. This allows us to control when we want to start connecting or attempt to reconnect if something happens; we could also call this disconnected for clarity in the future. In the connectingToMachine state, we invoke a createRobotClient actor that replicates the connect helper function and assigns the client to the machine context upon success. As the first improvement from original logic, we've added an explicit error handler for this actor to transition into the clientErrored state and allow a retry action to transition back to initializing. The connected state will immediately transition to the ready state after assigning the necessary component clients to the machine context upon entry.

From the ready state, the first action to look at is move. This will transition into the moving state (no more separate boolean variable to update 🎉) and invoke the armMover actor with a set of inputs to specify the x and y arguments along with the movement type: planar or quadrant; this allows for a consolidated workflow to handle those two similar interactions. Upon success, the machine transitions immediately back to ready. The error case is one of my favorite parts about this modeling; besides the explicit displayingMoveError state, we can see the automatic transition after the set period of time in one place.

The final action will look nearly identical to the previous one: we execute the dropAndHome action to transition into the picking state to invoke the dropHandler actor. Rather than include picking as an option in the armMover inputs, we keep this more complex workflow separate to leave opportunity to optimize later.
Even before including the generated state machine configuration in the codebase, this high level view of the robot's control logic is a fantastic tool for including in the documentation and teaching other members of the team how it should work.
Refactoring the code
To kick off the implementation of this state machine, I took the generated TypeScript code for XState v5 from Stately Studio and added it to the main.ts for the claw game app to start filling in the actions and actors.
const clawMachine = setup({
  types: {
    context: {} as ClawMachineContext, // abstracted to explict types for readability
    events: {} as ClawMachineEvent, // abstracted to explict types for readability
  },
  actions: {
    assignClients: assign({
      motionClient: ({ context }, params: ClientNameParams) =>
        new MotionClient(context.machineClient, params.motionClientName),

      boardClient: ({ context }, params: ClientNameParams) =>
        new BoardClient(context.machineClient, params.boardClientName),

      armClient: ({ context }, params: ClientNameParams) =>
        new ArmClient(context.machineClient, params.armClientName),

      gripperClient: ({ context }, params: ClientNameParams) =>
        new GripperClient(context.machineClient, params.gripperClientName),
    }),
    assignError: assign({
      error: (_, params: { error: Error }) => params.error,
    }),
    assignRobotClient: assign({
      machineClient: (_, params: { client: Client }) => {
        return params.client;
      },
    }),
    clearError: assign({ error: null }),
    styleMove: (_, _params: { state: 'moving' | 'ready' | 'error' }) => {},
    logError: (_, params: { error: Error }) => {
      console.error(params.error);
    },
  },
  actors: {
    createRobotClient: fromPromise<
      Client,
      { apiKey: string; apiKeyId: string; locationAddress: string }
    >(async ({ input }) => {
      const credential = {
        type: 'api-key',
        payload: input.apiKey,
      };

      //This is the host address of the main part of your robot.
      const host = input.locationAddress;

      return createRobotClient({
        host,
        credential,
        authEntity: input.apiKeyId,
        signalingAddress: 'https://app.viam.com:443',
      });
    }),
    moveHandler: fromPromise<void, MoveInput>(async ({ input }) => {
      if (input.target == 'quadrant') {
        await moveToQuadrant(
          input.motionClient,
          input.armClient,
          input.x,
          input.y,
        );
      }
      if (input.target == 'planar') {
        await inPlaneMove(
          input.motionClient,
          input.armClient,
          input.x,
          input.y,
        );
      }
    }),
    dropHandler: fromPromise<void, ClawMachineContext & { moveHeight: number }>(
      async ({ input }) => {
        await zMove(input.motionClient, input.armClient, 240);
        await grab(input.boardClient, input.gripperClient);
        await delay(1000);
        await zMove(input.motionClient, input.armClient, input.moveHeight);
        await home(input.motionClient, input.armClient);
        await delay(1000);
        await release(input.boardClient, input.gripperClient);
      },
    ),
  },
}).createMachine({
  context: { error: null } as ClawMachineContext,
  id: 'Claw Machine',
  initial: 'initializing',
  states: {
    initializing: {
      on: {
        connect: {
          target: 'connectingToMachine',
        },
      },
    },
    connectingToMachine: {
      invoke: {
        id: 'clientConnection',
        input: {
          apiKey: robotAPIKey,
          apiKeyId: robotAPIKeyID,
          locationAddress: robotLocation,
        },
        onDone: {
          target: 'connected',
          actions: {
            type: 'assignRobotClient',
            params: ({ event }) => ({ client: event.output }),
          },
        },
        onError: {
          target: 'clientErrored',
          actions: [
            {
              type: 'assignError',
              params: ({ event }) => ({ error: event.error as Error }),
            },
            {
              type: 'logError',
              params: ({ event }) => ({ error: event.error as Error }),
            },
          ],
        },
        src: 'createRobotClient',
      },
    },
    connected: {
      always: {
        target: 'ready',
      },
      entry: {
        type: 'assignClients',
        params: {
          motionClientName,
          boardClientName,
          armClientName,
          gripperClientName,
        },
      },
    },
    clientErrored: {
      entry: { type: 'styleMove', params: { state: 'error' } },
      on: {
        retry: {
          target: 'initializing',
          actions: { type: 'clearError' },
        },
      },
    },
    ready: {
      entry: { type: 'styleMove', params: { state: 'ready' } },
      on: {
        move: {
          target: 'moving',
        },
        dropAndHome: {
          target: 'picking',
        },
      },
    },
    moving: {
      entry: { type: 'styleMove', params: { state: 'moving' } },
      invoke: {
        id: 'armMover',
        input: ({ context, event }) => {
          assertEvent(event, 'move');

          if (event.target == 'home') {
            return { ...context, target: event.target };
          }

          return {
            ...context,
            target: event.target,
            x: event.x,
            y: event.y,
          };
        },
        onDone: {
          target: 'ready',
        },
        onError: {
          target: 'displayingMoveError',
          actions: [
            {
              type: 'assignError',
              params: ({ event }) => ({ error: event.error as Error }),
            },
            {
              type: 'logError',
              params: ({ event }) => ({ error: event.error as Error }),
            },
          ],
        },
        src: 'moveHandler',
      },
    },
    picking: {
      entry: { type: 'styleMove', params: { state: 'moving' } },
      invoke: {
        id: 'picker',
        input: ({ context }) => ({ ...context, moveHeight }),
        onDone: {
          target: 'ready',
        },
        onError: {
          target: 'displayingPickerError',
          actions: [
            {
              type: 'assignError',
              params: ({ event }) => ({ error: event.error as Error }),
            },
            {
              type: 'logError',
              params: ({ event }) => ({ error: event.error as Error }),
            },
          ],
        },
        src: 'dropHandler',
      },
    },
    displayingMoveError: {
      entry: { type: 'styleMove', params: { state: 'error' } },
      after: {
        '3000': {
          target: 'ready',
          actions: { type: 'clearError' },
        },
      },
    },
    displayingPickerError: {
      entry: { type: 'styleMove', params: { state: 'error' } },
      after: {
        '2000': {
          target: 'ready',
          actions: { type: 'clearError' },
        },
      },
    },
  },
});
If we compare the moveHandler and dropHandler actors to the original code, they are essentially the same as before but with the success and error handling lifted up to the state machine level.
You might also notice the styleMove helper being used as an explicit entry action for the necessary states and making it more consistent than before.
With this clawMachine configured, the body of the main function has been dramatically reduced:
function main() {
  const clawMachineActor = createActor(
    clawMachine.provide({
      actions: { styleMove },
    }),
  );

  document.body.addEventListener('pointerdown', (event) => {
    if (
      event.target instanceof HTMLElement &&
      'event' in event.target.dataset
    ) {
      const {
        event: machineEvent,
        target,
        x = '0',
        y = '0',
      } = event.target.dataset;

      if (machineEvent === 'move') {
        if (target === 'planar' || target === 'quadrant') {
          clawMachineActor.send({
            type: machineEvent,
            target,
            x: parseInt(x, 10),
            y: parseInt(y, 10),
          });
        }
      }
      if (machineEvent === 'dropAndHome')
        clawMachineActor.send({ type: machineEvent });
    }
  });

  clawMachineActor.start();
  clawMachineActor.send({ type: 'connect' });
}
The styleMove action is configured here rather than including it by default in the clawMachine configuration as a personal preference to keep DOM logic separate. While I was working on this, I decided to simplify styleMove as well since it just needed the current state reflected in the HTML to conditionally style the grid (it could be a one-liner without the safety check):
function styleMove(_, params: { state: 'moving' | 'ready' | 'error' }) {
  const container = document.getElementById('grid-container');
  if (container == null) return;

  container.dataset.state = params.state;
}
The updated CSS:
.grid-container[data-state='ready'] {
  background-color: #6ded8a;
}

.grid-container[data-state='moving'] {
  background-color: #ffee99;
}

.grid-container[data-state='error'] {
  background-color: #aa0000;
}
The event handler for the claw game buttons was also refactored a bit to reduce the amount of redundant TypeScript code by specifying the action inputs as data attributes on the static HTML:
<button
  id="forward-button"
  class="grid-arrow grid-arrow-up"
  data-event="move"
  data-target="planar"
  data-x="-20"
  data-y="0"
>
  Forward
</button>
Now it is just a single, delegated event handler to send events to the clawMachine with all the guards and error handling guaranteed!
Once the modeling was complete, the process of refactoring the code to use xstate took less than an hour thanks to my familiarity with the library and the clearer understanding of how Viam API interactions would slot into the state machine configuration.
You can view the full refactor PR here: https://github.com/viam-labs/claw-game/pull/17
Reflecting
View it in action:
Overall, I found the whole process from visualizing the logic to plugging the generated code into my web app incredibly fruitful. I've already identified ways to extend and improve the machine as needed, like adding error capturing in place of the default logError action and breaking out the dropHandler Promise actor into an explicit state machine actor. I hope folks on my team and in the Viam community will understand this application better with this refactor in place.
Happy Building!